
Tutorials
Wavelength tutorials
Short guides with screenshots. Learn how to map a process, use the canvas tools, and run a live session with the people on your call.
Map your first flow
You can talk or type. Wavelength turns what you say into a process flow.
- Open a new flow in the app. To try it with no account, open the free demo.
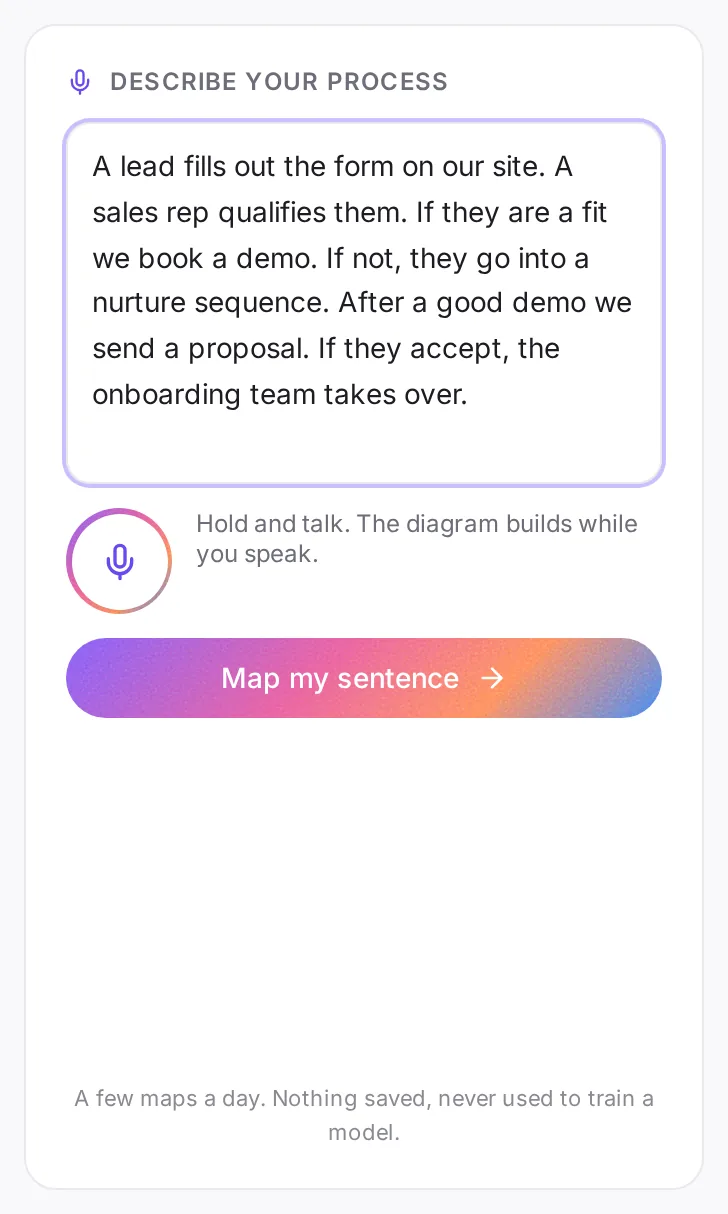
- Type a few sentences about the process in the transcript box. You can also hold the mic button and talk.
- Click Generate Flow. In the demo, click Map my sentence.
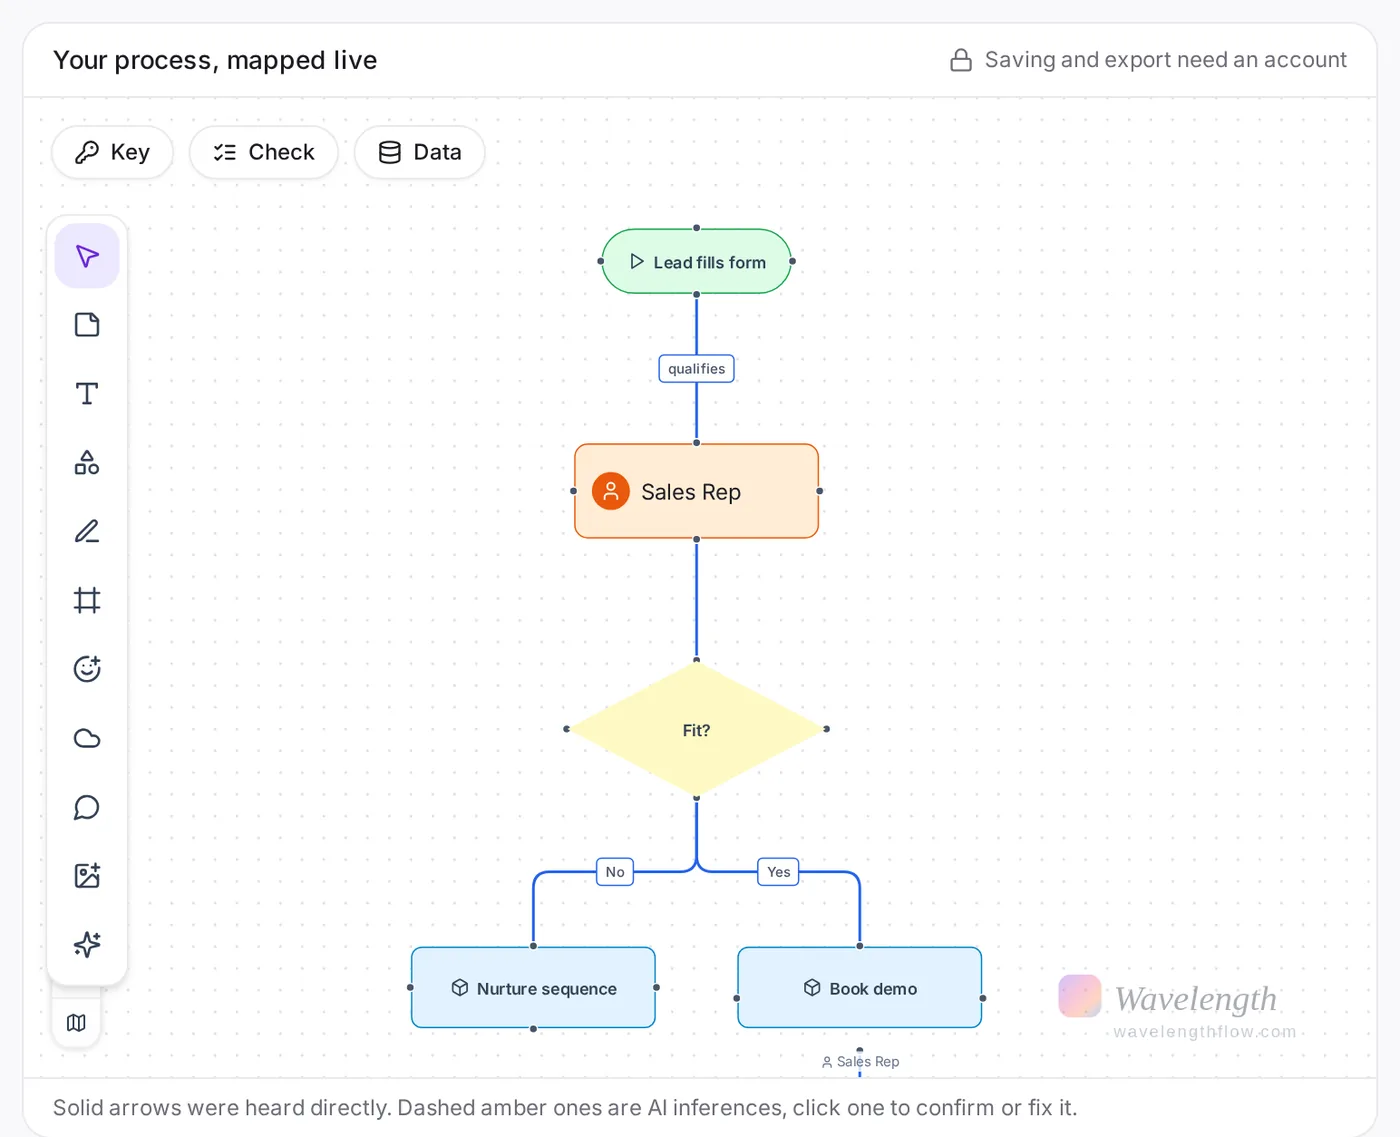
- Check the map. A solid arrow is a step that you said. A dashed amber arrow is an AI guess. Click a guess to confirm it or to fix it.
Use push-to-talk
- Hold the mic button while you talk.
- Release the button when you stop.
- The map updates while you speak.
Only the time that you hold the mic counts toward the mic limit of your plan. A typical call uses only a few minutes of mic time.
Use the canvas tools
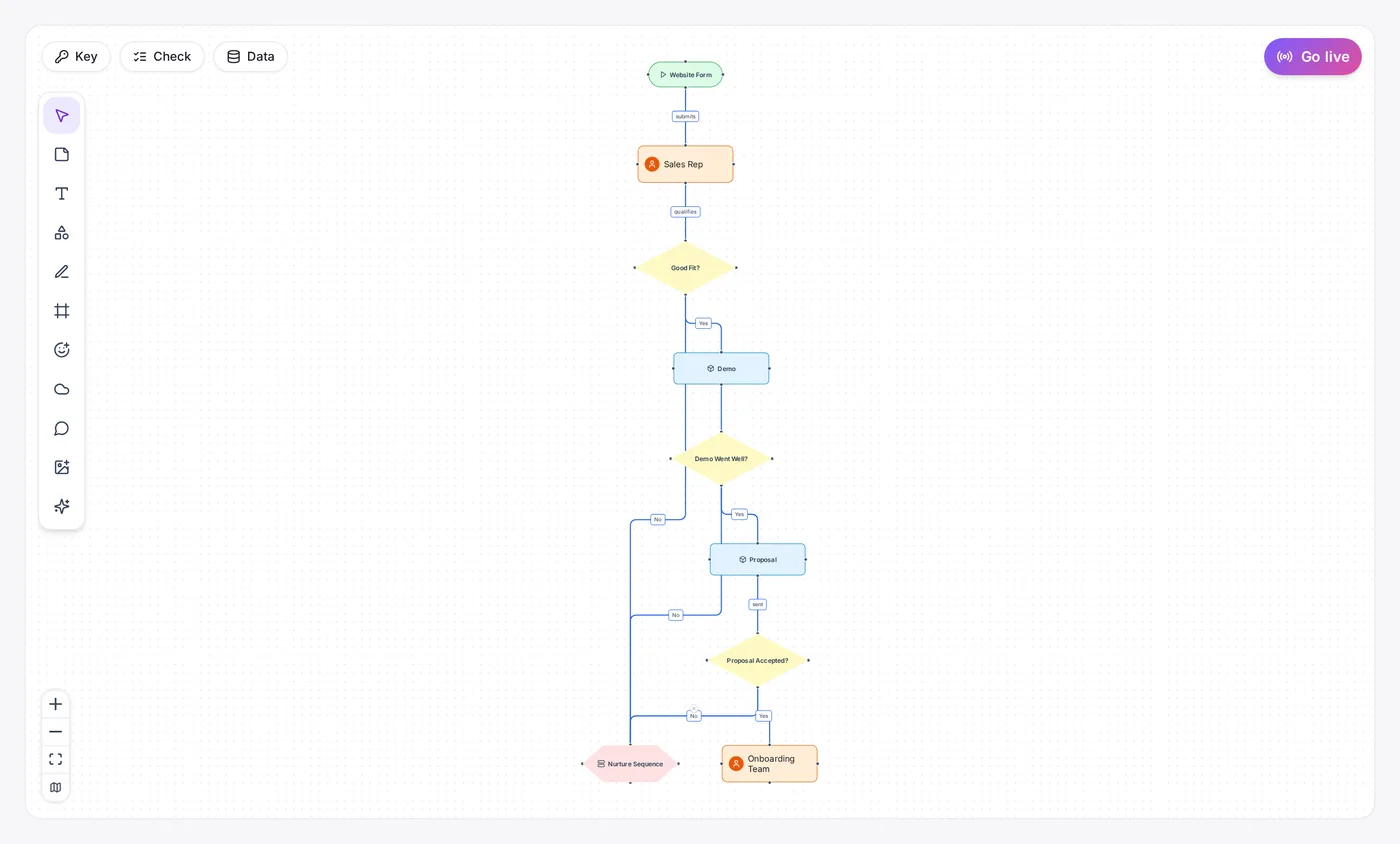
The toolbar on the left side of the canvas holds the drawing tools. Hover a tool to see its name.

| Tool | What it does |
|---|---|
| Select | Select, move, and connect the shapes. |
| Sticky note | Adds a note to the canvas. |
| Text | Adds free text. |
| Shapes | Adds a shape. |
| Pen | Draws freehand lines. |
| Frame | Puts items in a titled area. |
| Stickers | Adds a sticker. |
| Cloud icons | Adds AWS, Microsoft Azure, and Google Cloud icons. |
| Comment | Adds a comment for your team. |
| Image | Adds an image. |
| AI on sticky notes | Sorts your notes or turns them into a flow. See Sort sticky notes with AI. |
The buttons at the top left
- Key shows what each shape and each line type means.
- Check runs a process check on the flow and lists the issues that it finds.
- Data links a Google Sheet or a CSV file. The rows fill in time, cost, owner, note, and status for the matching steps.
Run a live session
A live session shares your map with the people on your call. They watch the map build in real time. They need no account. Nothing is recorded.
- Open a flow on a computer. The Go live button is not on phone screens.
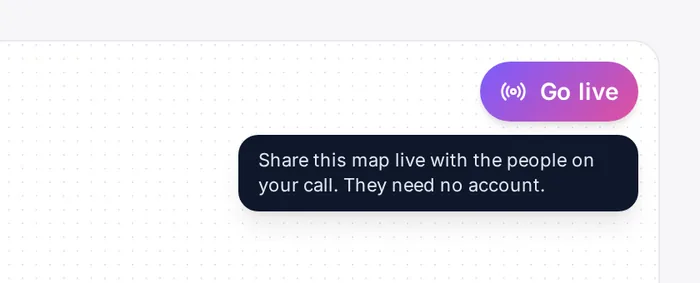
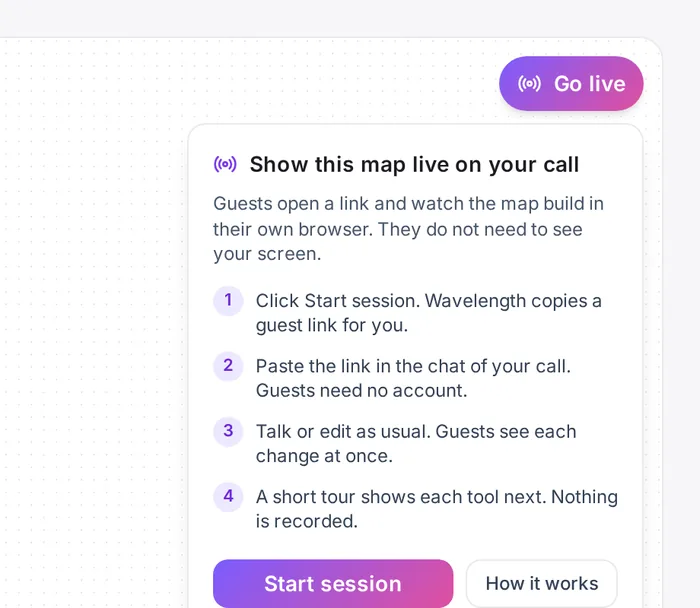
- Click Go live at the top right of the canvas.
- Read the short guide, then click Start session. The guide shows only the first time.
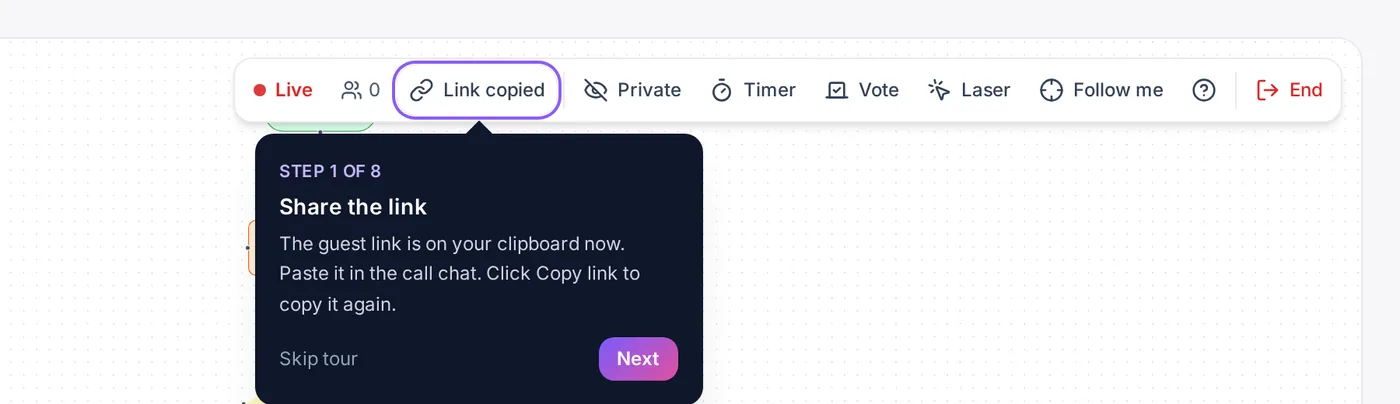
- Wavelength copies the guest link for you. Paste the link into the chat of your call.
- The first time, a short tour shows each tool in the live toolbar. Click Next to move through it. Click the ? button in the live toolbar to see the tour again.
- Click End when the call is done. Your flow stays saved.
The live toolbar
| Tool | What it does |
|---|---|
| Live and the people count | Shows that the session is on and how many guests are in the room. Hover the count to see their names. |
| Copy link | Copies the guest link again. |
| Private and Reveal | Hides your changes from the guests. Click Reveal to show them. See Draft in private. |
| Timer | Starts a countdown that everyone sees. See Run a timer. |
| Vote | Starts a dot vote on the steps. See Run a dot vote. |
| Laser | Shows the guests a red dot where you point. |
| Follow me | Moves the view of each guest with your view. |
| ? (Show the tour) | Shows the tour of the live tools again. |
| End | Stops the session. The guests see an end screen. |
Hover any tool in the live toolbar to see what it does.
Run a timer
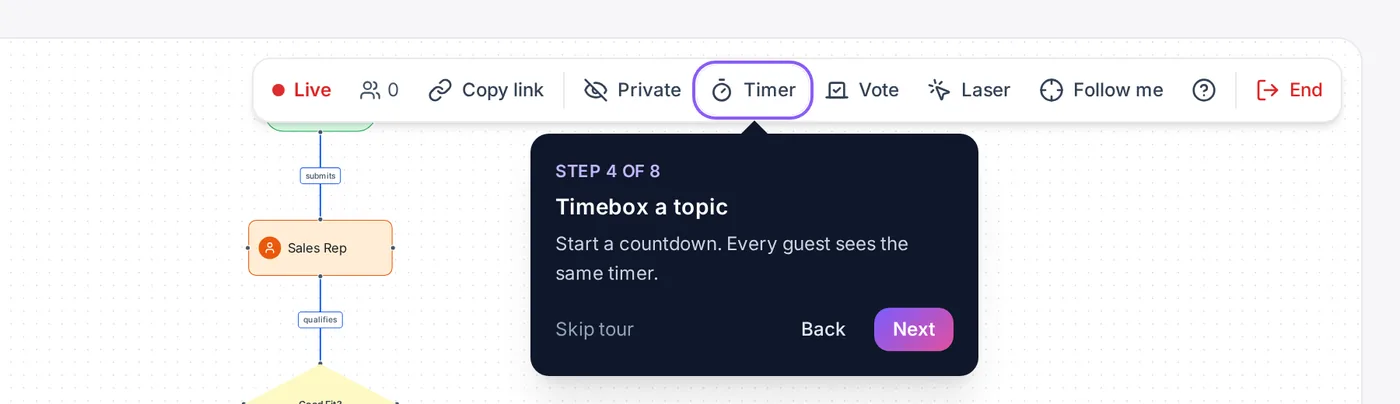
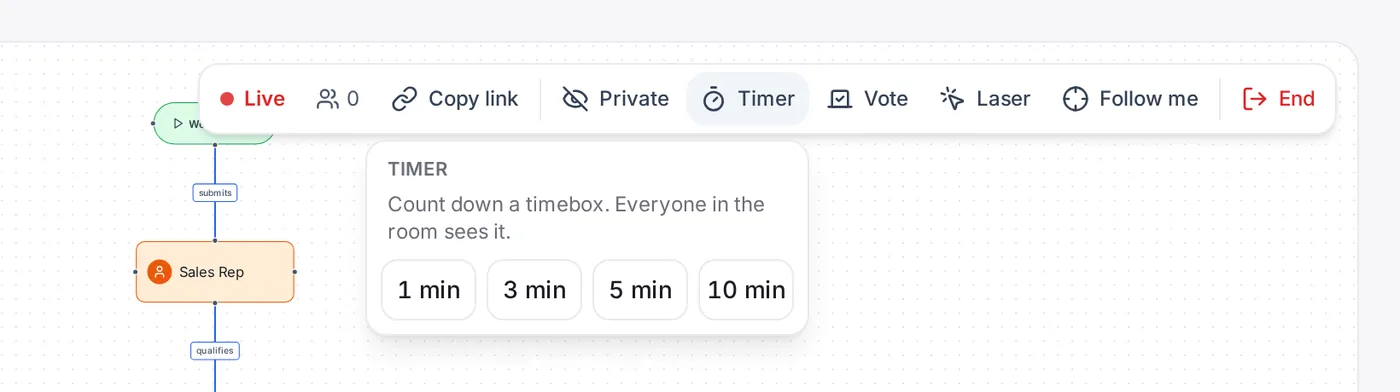
- Click Timer in the live toolbar.
- Pick 1, 3, 5, or 10 minutes.
- The countdown shows at the top of the canvas for you and for each guest.
- Open Timer again to add 1 minute, to pause, or to stop the countdown.
Run a dot vote
A dot vote shows which steps matter most to the room.
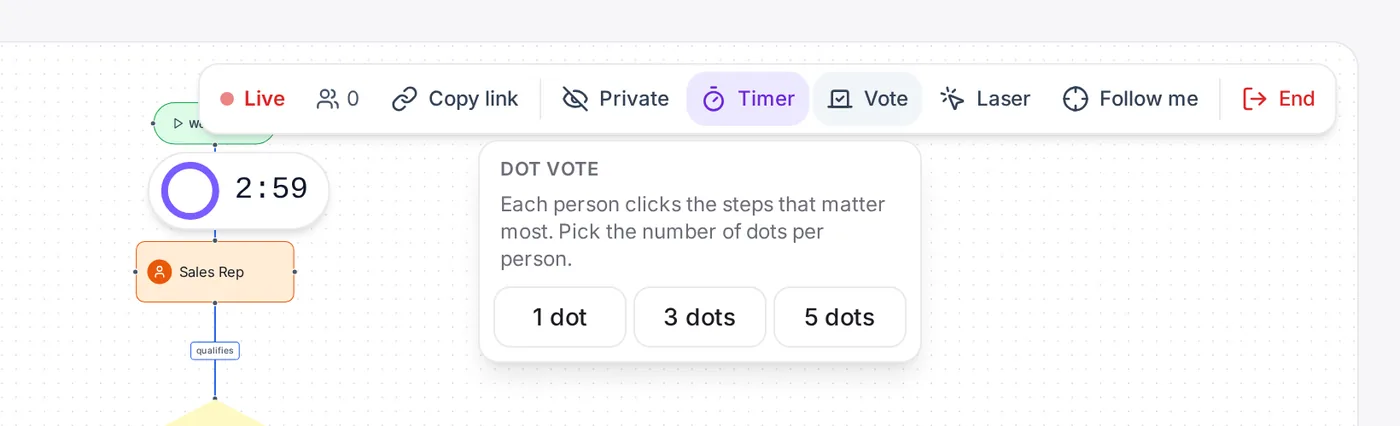
- Click Vote in the live toolbar.
- Pick the number of dots for each person: 1, 3, or 5.
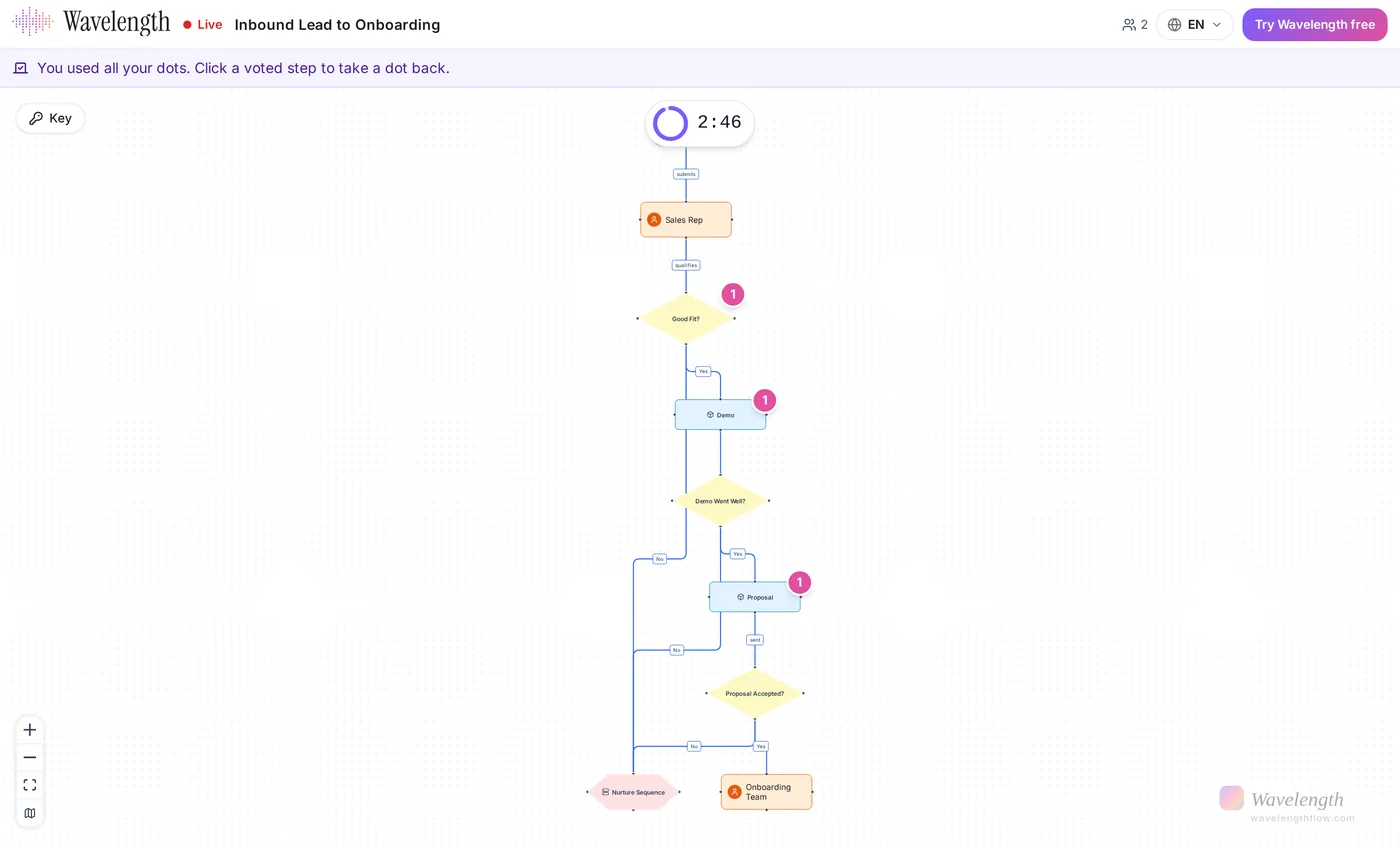
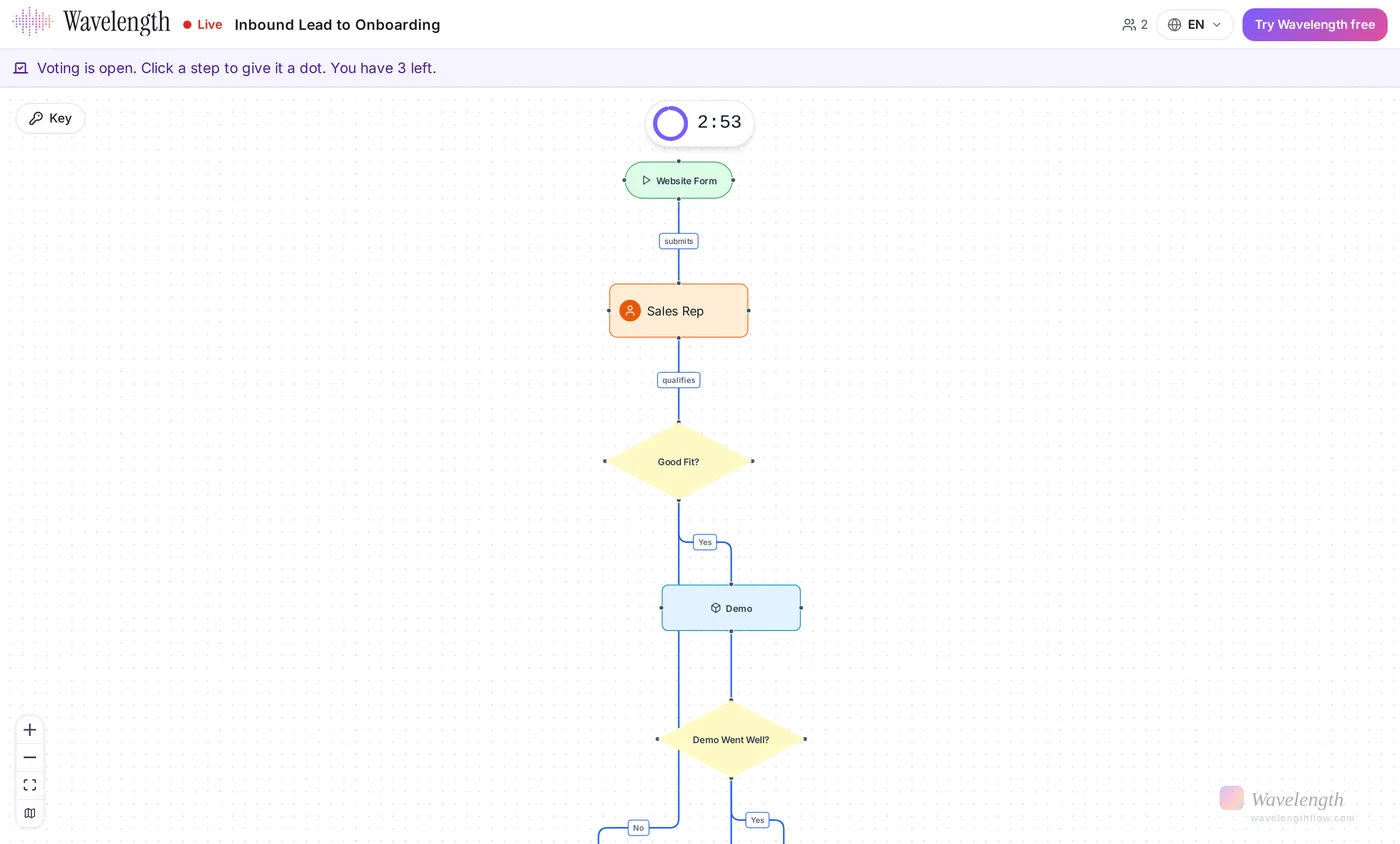
- Each guest clicks a step to give it a dot. A guest with no dots left can click a voted step to take a dot back.
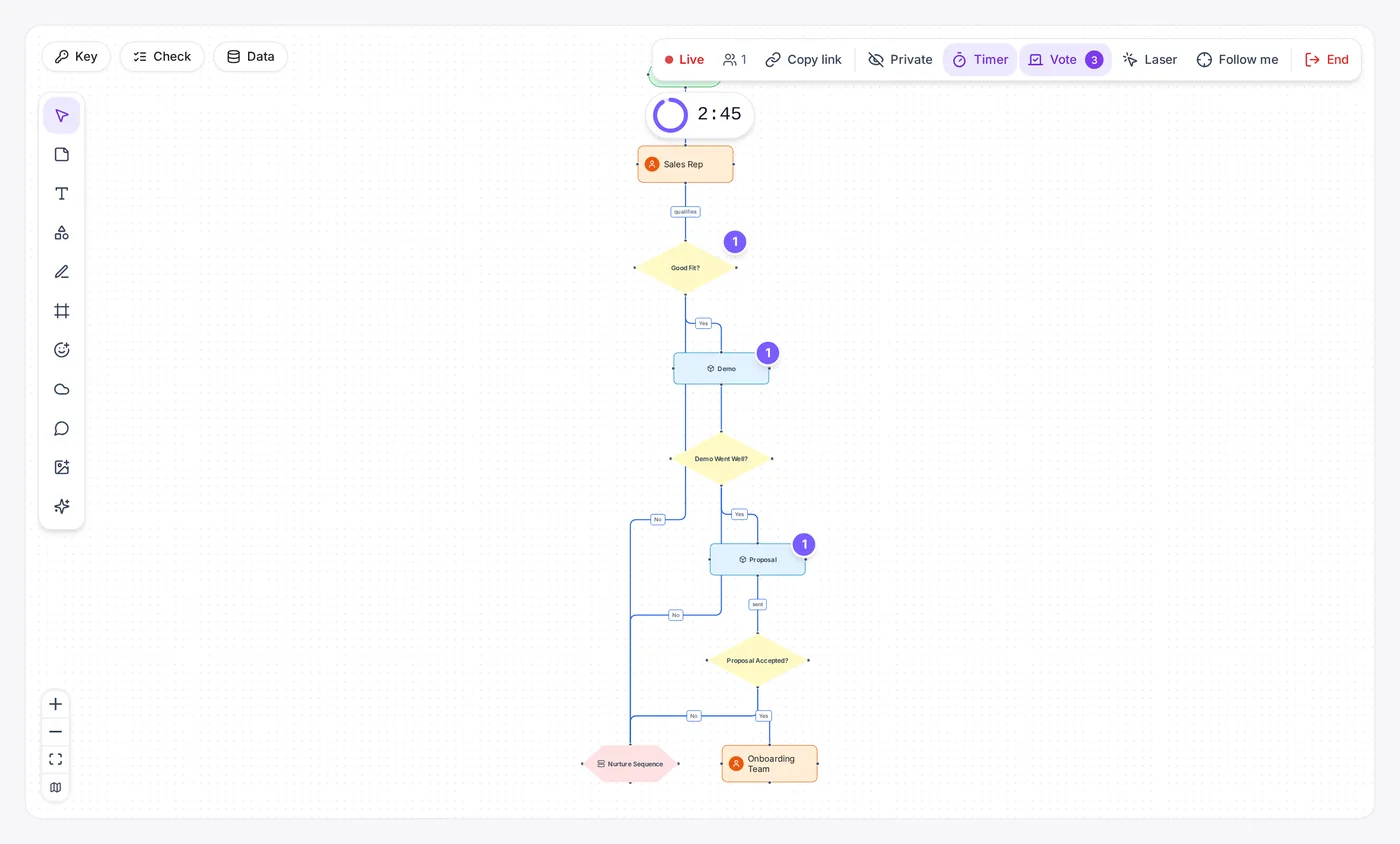
- The count shows on the top right corner of each voted step.
- Open Vote and click End voting.
- Click Save results to add the counts to the board as labels. Click Clear to remove them.
Point and lead the room
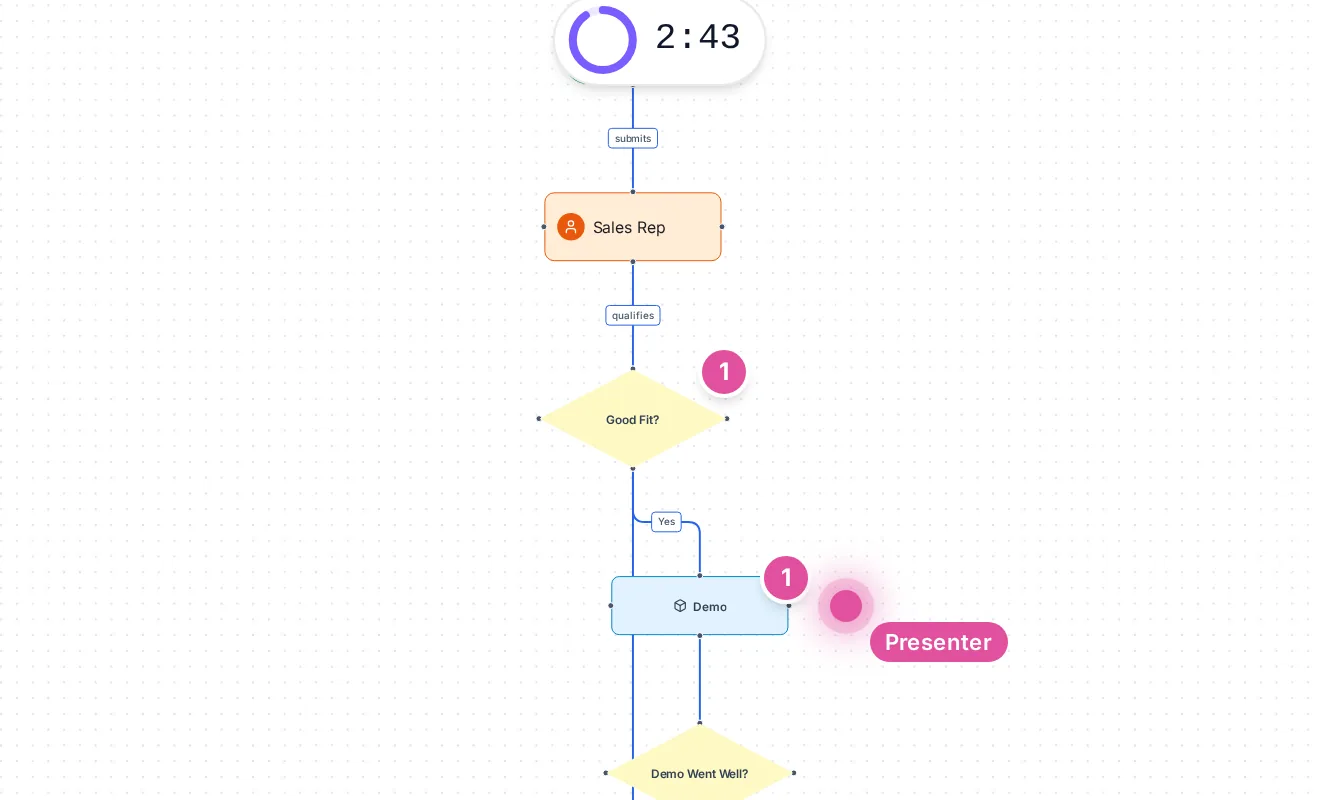
- Click Laser and move your mouse over the canvas. Each guest sees a red dot with the label Presenter.
- Click Follow me to move the view of each guest with your view. A guest can turn off Follow presenter to move freely.
Draft in private
- Click Private in the live toolbar.
- A dark banner on your canvas tells you that the room cannot see your changes.
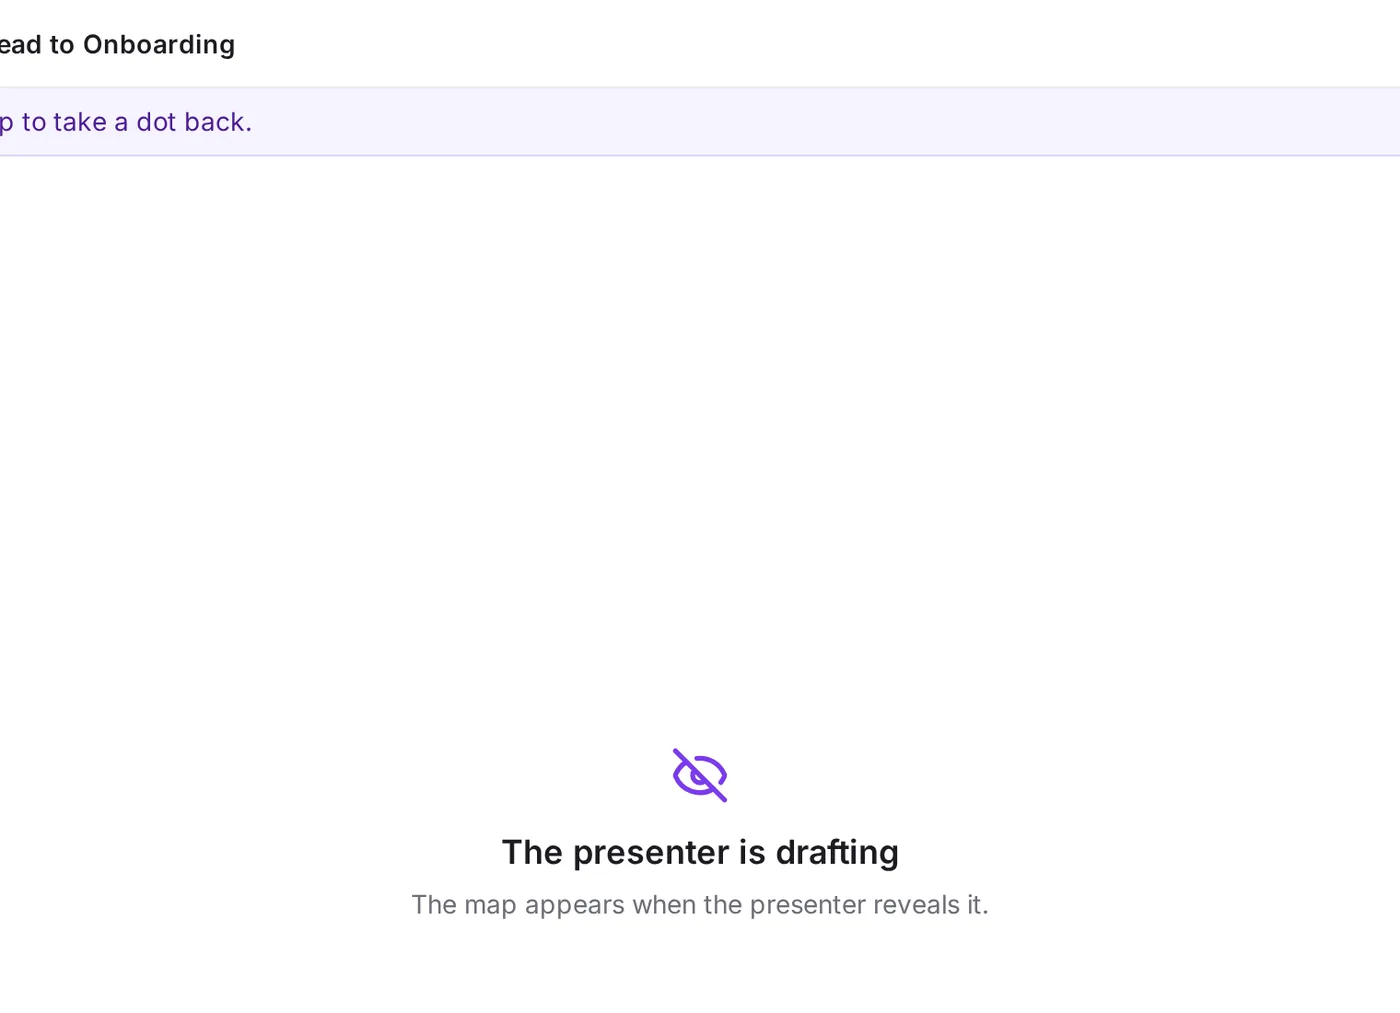
- Each guest sees a message that the presenter is drafting.
- Click Reveal to show the map again.
What guests see
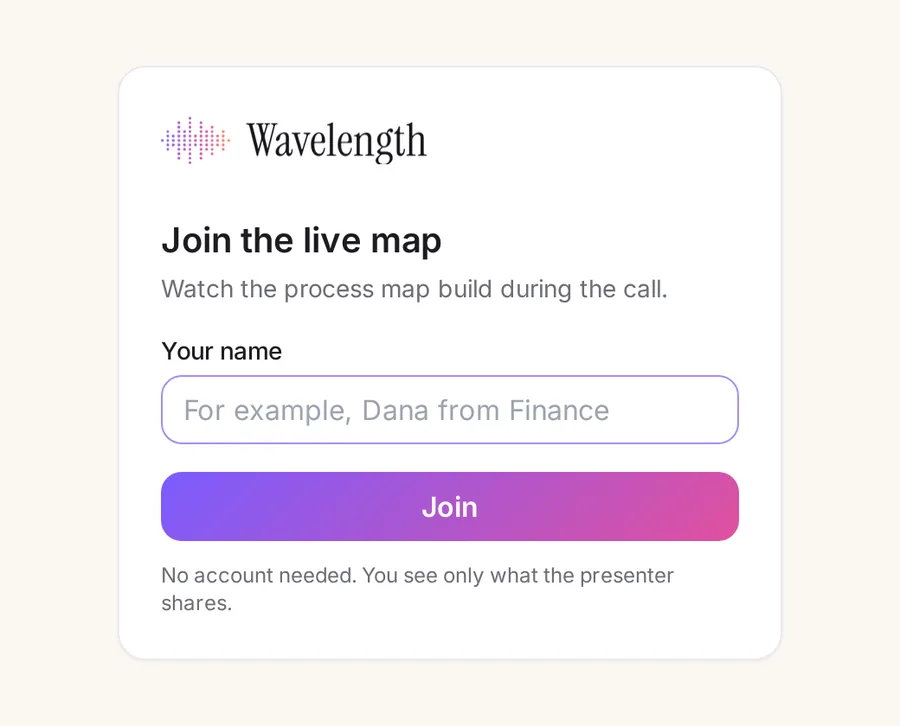
- The guest opens the link.
- The guest types a name and clicks Join. No account is necessary.
- The guest sees the map, the timer, and the votes. The guest cannot edit the map.
- When you end the session, the guest sees an end screen.
Sort sticky notes with AI
- Add at least two sticky notes with text.
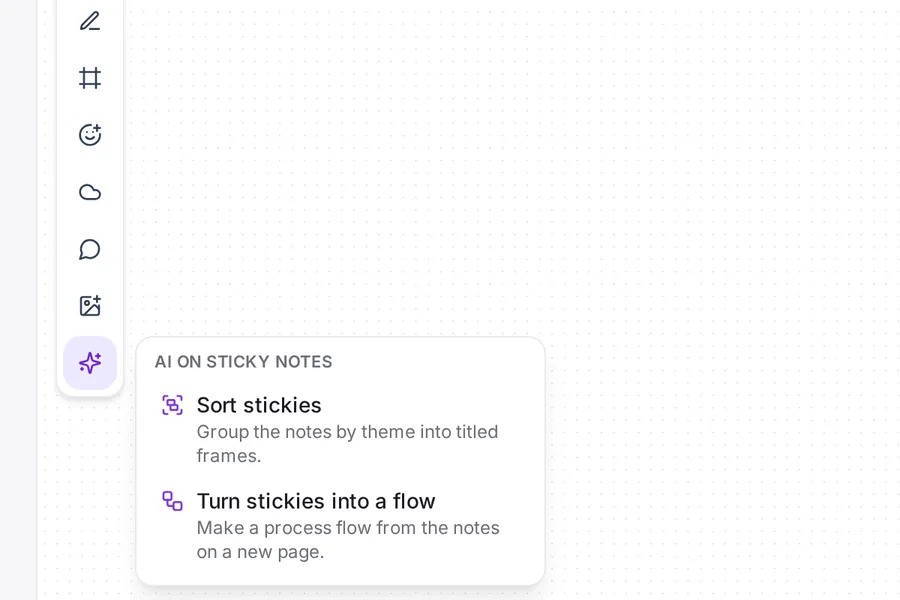
- Click the sparkles button at the bottom of the canvas toolbar.
- Click Sort stickies to group the notes by theme into titled frames.
- Or click Turn stickies into a flow to make a process flow from the notes on a new page.
Each action counts toward the AI assist limit of your plan.
Get more help
- Read the FAQ.
- Try the free demo. You need no account.
- Email support@wavelengthflow.com.